Space Tieren (Part VII)
Well, it has been quite some time since I last updated. Painting of the red dude is done, so now it is to do up a base. Actually this is the very first time I have done a base so quite afraid what might appear... Well, let's find out....
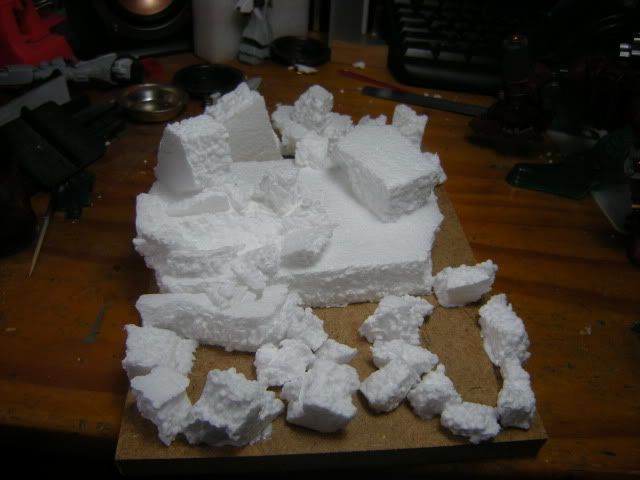
Well, first and foremost I laid out the basic structure with Styrofoam to get a feel of how it will ook like... White glue is used to stick the Styrofoam down....
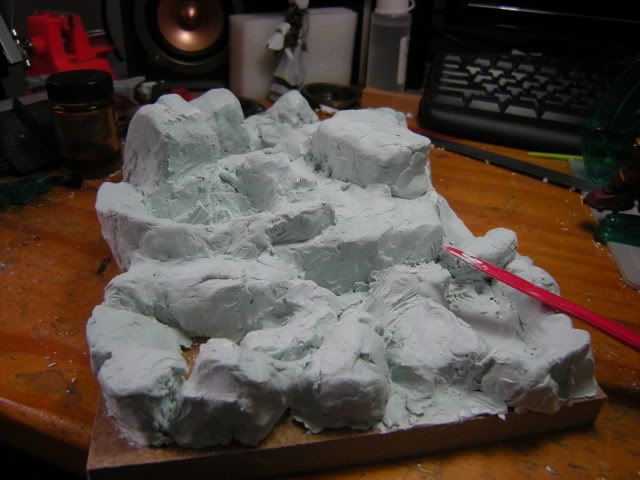
Next, it is on to the clay. This is the hard part. The clay didn't seem to want to want to stick on the surface, be it wood or Styrofoam. So I just pressed it on and waited for it to harden a little before doing any sculpting.... Fortunately it worked and with my trusty sculpt did some random formations....
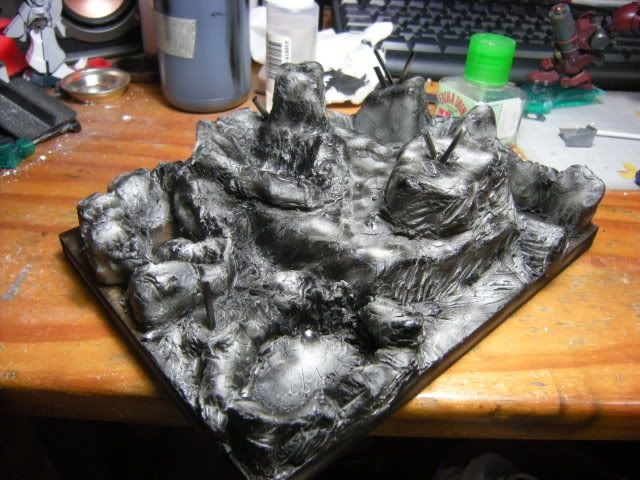
 I left the clay to dry for about a day before I added the colour... First was a Black preshade. No need to be so nice one, random can le.
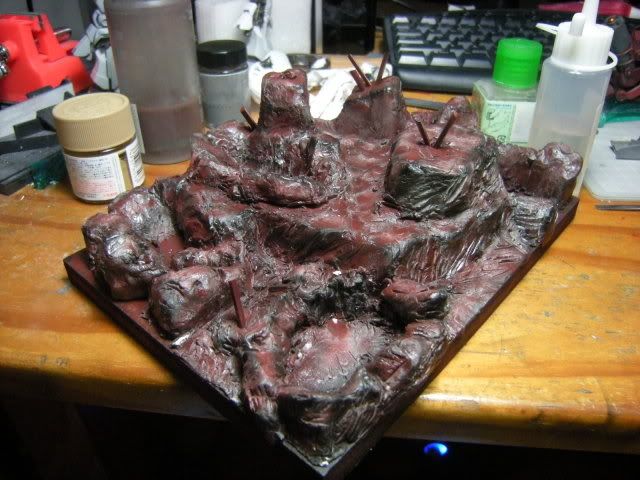
Next the Red Brown goes in.....
Finally, Grey was used to complete the overall look. Used some Khaki to drybrush on to bring out the details....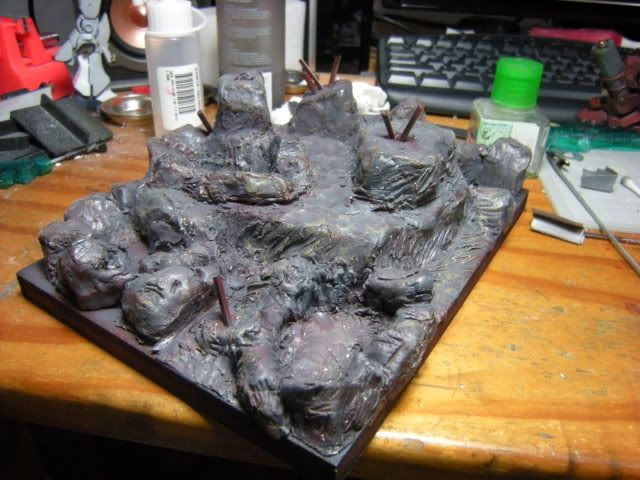
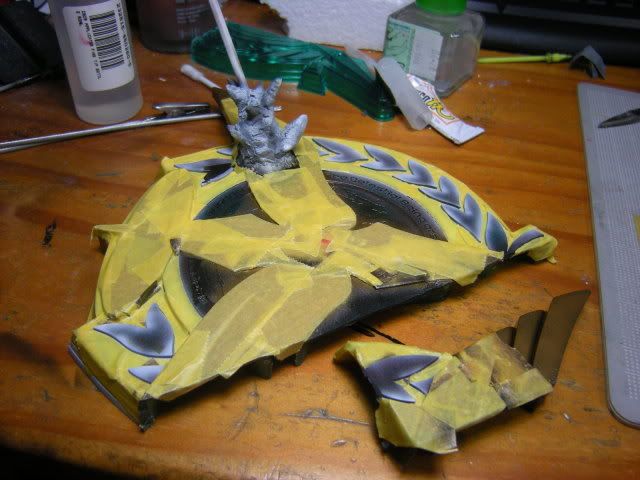
Next was the stand. Sacrificed the Celestial Being base that was given to me together with the 1/100 00 Raiser. First Black preshade, followed by a layer of white, then masked up to spray my Orange Gold mixture and finally masked up again for Metallic Blue.....
Final product was weathered with Tamiya weather set and Volia..... On the side of the stand, trying to create an erm..... explosion? Will find out why later, hehe.....=)
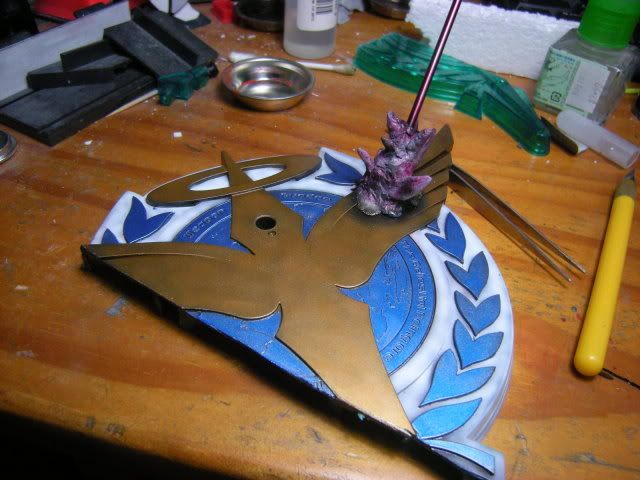
Overall still quite happy with the base be it the first time doing it. Like to thank Eday for his advice and Kbata for telling me how to build base. Haha.... Well till the next update, which should be the finished kit, pls leave your comments behind!! Thank you!!=)
Well, first and foremost I laid out the basic structure with Styrofoam to get a feel of how it will ook like... White glue is used to stick the Styrofoam down....

Next, it is on to the clay. This is the hard part. The clay didn't seem to want to want to stick on the surface, be it wood or Styrofoam. So I just pressed it on and waited for it to harden a little before doing any sculpting.... Fortunately it worked and with my trusty sculpt did some random formations....
 I left the clay to dry for about a day before I added the colour... First was a Black preshade. No need to be so nice one, random can le.
Next the Red Brown goes in.....

Finally, Grey was used to complete the overall look. Used some Khaki to drybrush on to bring out the details....

Next was the stand. Sacrificed the Celestial Being base that was given to me together with the 1/100 00 Raiser. First Black preshade, followed by a layer of white, then masked up to spray my Orange Gold mixture and finally masked up again for Metallic Blue.....

Final product was weathered with Tamiya weather set and Volia..... On the side of the stand, trying to create an erm..... explosion? Will find out why later, hehe.....=)

Overall still quite happy with the base be it the first time doing it. Like to thank Eday for his advice and Kbata for telling me how to build base. Haha.... Well till the next update, which should be the finished kit, pls leave your comments behind!! Thank you!!=)
No comments:
Post a Comment